Introduction
In this tutorial you will install Git Bash on your Windows operating system. Git Bash is one of the most popular packages on Windows system. It comprises of git and bash. Git was created in 2005 by Linus Torvalds, and was built around a Unix-based system, such as the Linux operating system and MacOS. These operating systems have a built-in shell called bash that allows Git to run smoothly.
On the other hand, Windows is not a unix-based system and uses a different shell from bash, which git doesn't support out of the box. To bridge the gap, Git Bash was created. Git bash installs both git and bash shell on a Windows system giving it access to command line tools that allow git to run properly. Additionally, git bash also installs bash tools such as ssh, cat, nano that makes developing on Windows easier.
What is Git?
Git is an open-source version control system for tracking source code changes when developing software. It keeps a commit history which allows you to revert to a stable state in case you mess up your code. Another common use for git is collaboration. git also allows multiple developers to collaborate on the same code base. it tracks all the changes each developer has made, and once the changes are accepted, the changes are merged into one code base which is deployed in production.
What is Bash?
Bash is a Unix command-line shell. The name is an acronym for the 'Bourne-Again Shell'. A shell is a command line interpreter that gives the user an interface to interact with the computer through the use of commands.
Bash has a lot of useful commands, such as rsync,ssh, SCP, etc., which are not available on windows by default.
Now that you have an idea of that git bash and the tools it installs on Windows, you will download git bash in the next section.
Prerequisites
To follow this tutorial you will need:
- Windows administrator privileges.
- A text editor. You can download Visual Studio Code or Notepad++.
Step 1: Downloading Git Bash
In this section, you will download Git Bash executable from the official website.
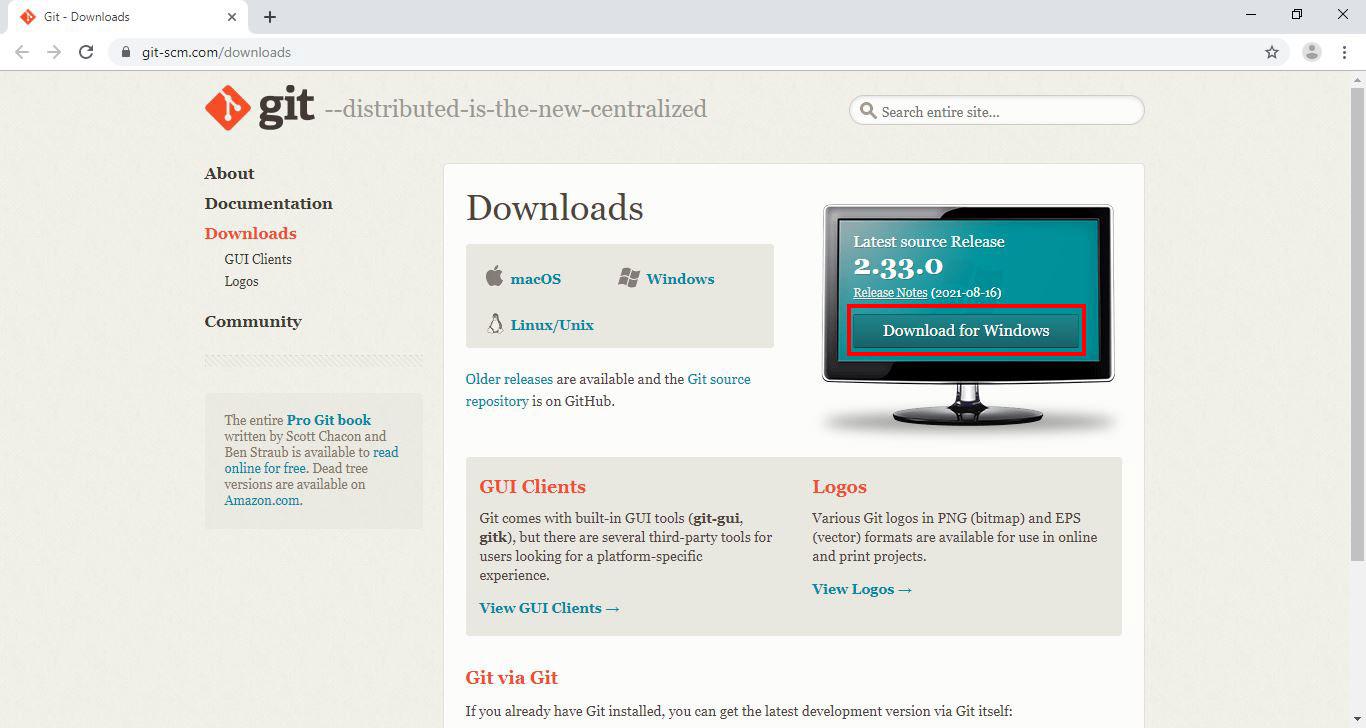
Open your preferred browser and visit Git Bash downloads page by clicking the following link: Git Download Page
Once the page loads, click the Download for Windows button.
Next, you will be redirected to a different page and download will start automatically in a few seconds.
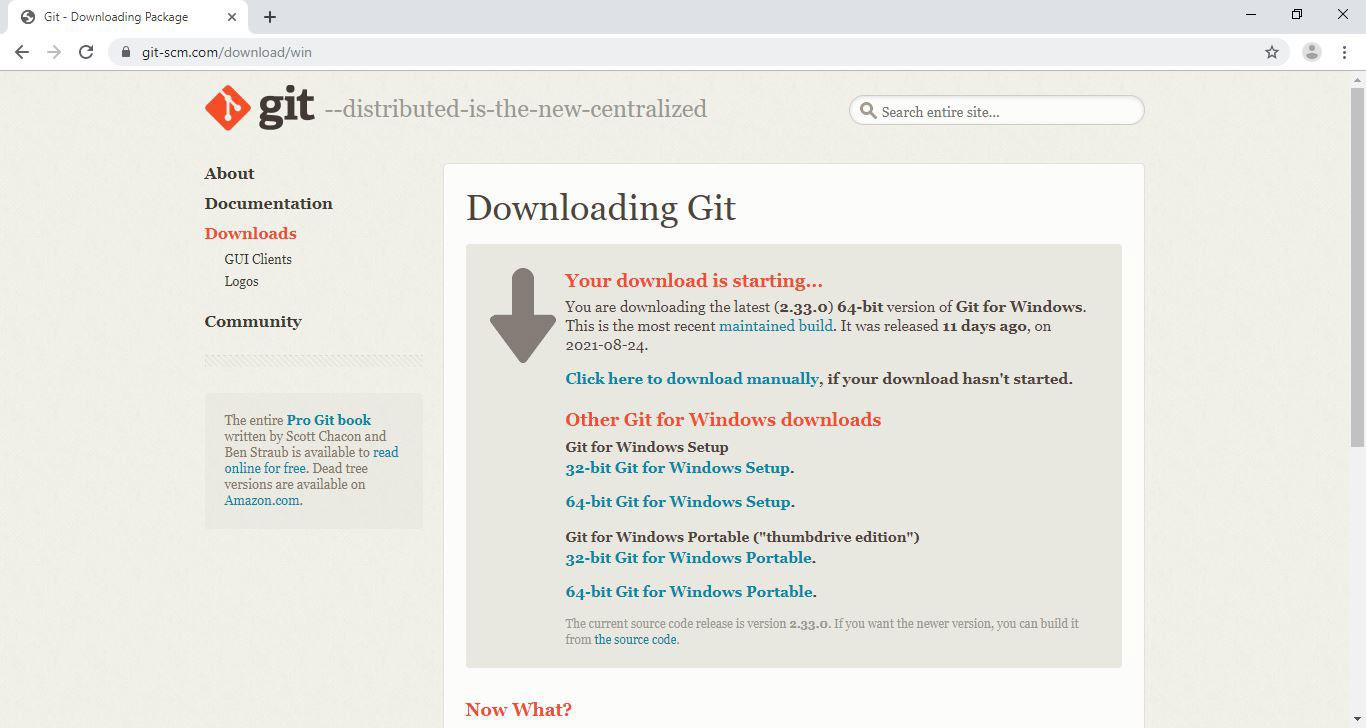
Tip: If the download doesn't start, click on the click here to download manually link.
Now that you have downloaded the Git Bash executable, you will run the installer.
Step 2: Running the Installer
In this step you will start the Git Bash installation wizard. Go into your Downloads directory or the location where your browser download things in. Click the Git Bash executable(.exe file) to run the installer.
Windows will prompt you with the message "Do you want to allow this app to make changes to your device?", click Yes.
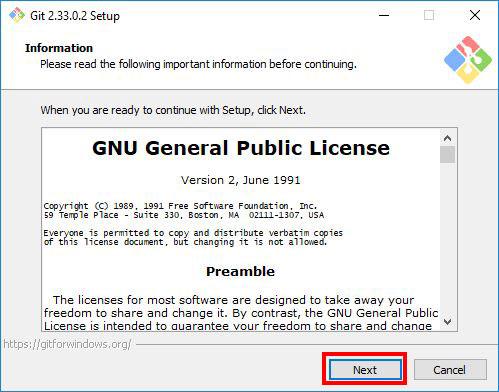
Next, read the GNU General Public License and click Next.
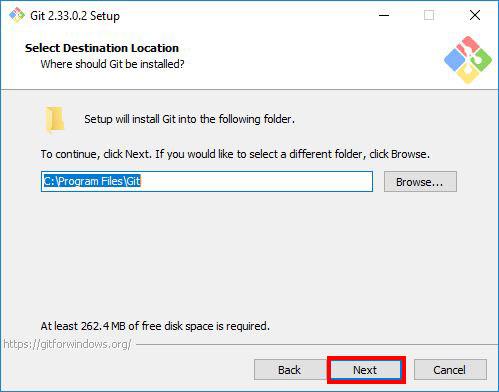
Step 3: Selecting the Destination Location
In this step, the installer will ask you select the location you want to install Git Bash. Proceed with the default option, and click Next.
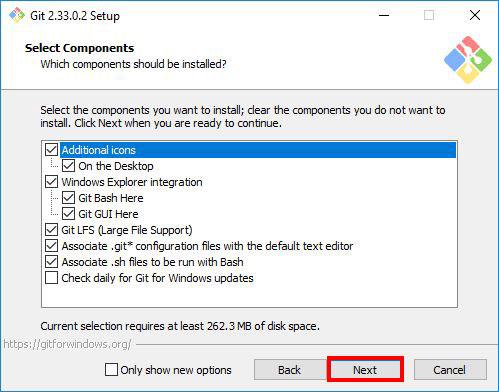
Step 4: Selecting Components
Select the components you want to install. I prefer selecting the Additional icons component which creates a Git Bash shortcut on the desktop. After you've selected the components, click Next.
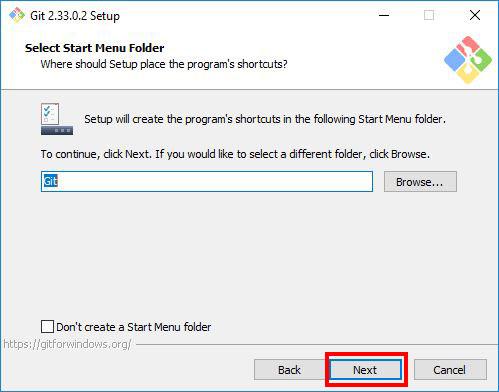
Step 5: Selecting the Start Menu Folder
The installer will ask you to choose the folder to create Start Menu folder. Proceed with the default name by clicking Next.
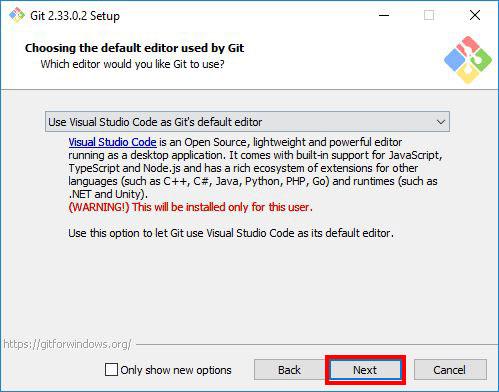
Step 6: Choosing the Default Editor for Git
In this step, the installer will ask you to choose the default editor for Git. By default it chooses Vim, please don't proceed with the Vim editor as it has a steep learning curve.
Instead, choose a text editor that you like. If you looking for recommendations, you can download Visual studio code or notepad++ which are much easier to use and restart the installation wizard.
I prefer Visual Studio code, so I will select that.
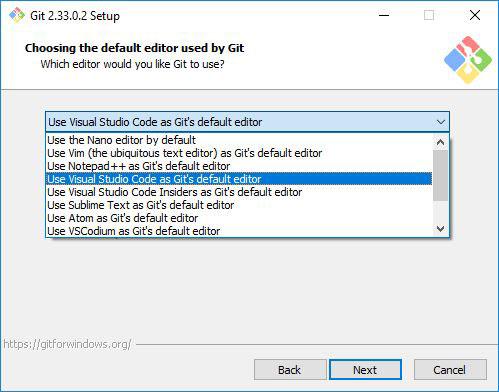
After choosing the editor, click Next.
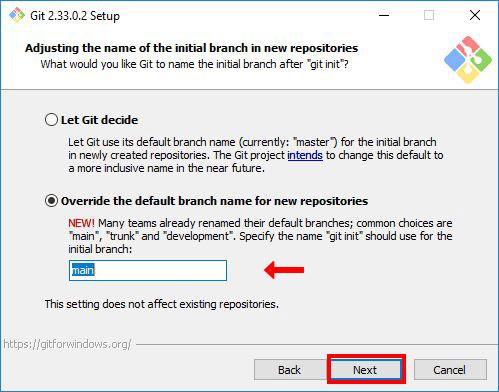
Step 7: Adjusting the Name of the Initial Branch in New Repositories.
The installer will now ask you to choose the branch name for new repositories. Naming a branch master used to be a popular naming convection, but lately there has been a shift to naming branches main. This due to negative association with the word master. Even GitHub changed the default branch name from master to a more inclusive name main.
So in this step, we will name the branch name main. select the Override the default branch name for new repositories option, and type main. After that, click Next.
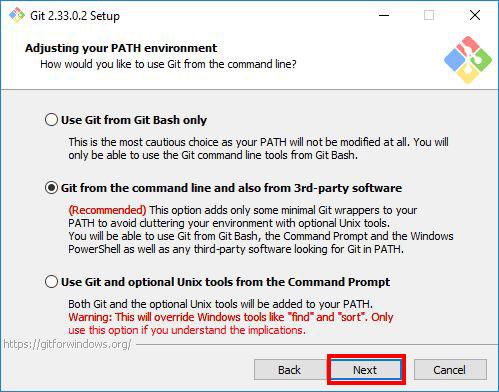
Step 8: Adjusting your PATH Environment
In this section, the installer will ask you to choose how you want to use Git. It offers you the following options:
-
Use Git from Git Bash only: allows you to run Git and Bash commands in the Git Bash terminal only. The commands won't work on Windows Command Line(CMD) or PowerShell.
-
Git from the command line and also from 3rd-party software(recommended): allows you to run Git commands only on CMD, PowerShell and when you need bash commands, you will need to open the Git Bash terminal.
-
Use Git and optional Unix tools from the Command Prompt: Allows you to run both Git and Bash commands on CMD or Powershell. This option overrides default CMD tools like find and sort.
We will go with the default option Git from the command line and also from 3rd-party software. We will be able to use Git on all terminals: CMD, PowerShell and Git Bash terminal. And we can always open the Git Bash Terminal when we need more bash tools. Click Next to proceed.
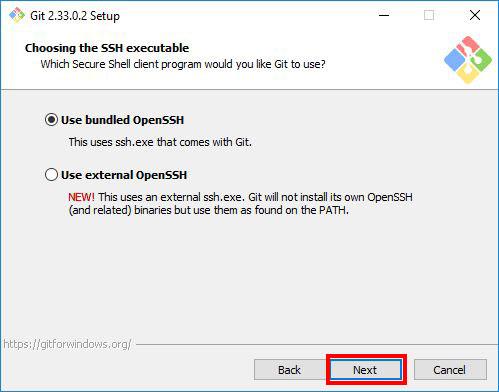
Step 9: Choosing the SSH executable
Select the Secure Shell(SSH) client, it's recommended to go with the default option. So select Use bundled OpenSSH, and click Next.
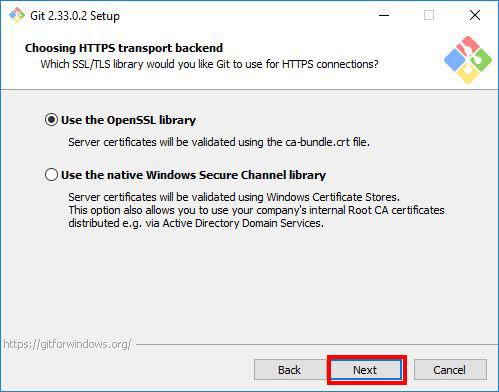
Step 10: Choosing HTTPS Transport Backend
The installer will ask you to choose the SSL/TLS library for Git HTTPS connections. Proceed with the default option Use the OpenSSL library and click Next.
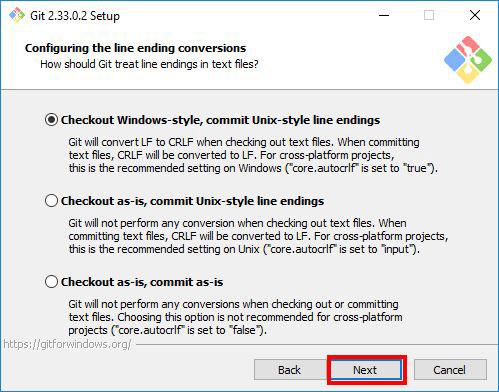
Step 11: Configuring the Line Ending Conversions
In this step, you will be prompted to choose how Git should treat line endings in text files. Since you are on Windows system, go with the default option Checkout Windows-Style, commit Unix-style line endings and click Next.
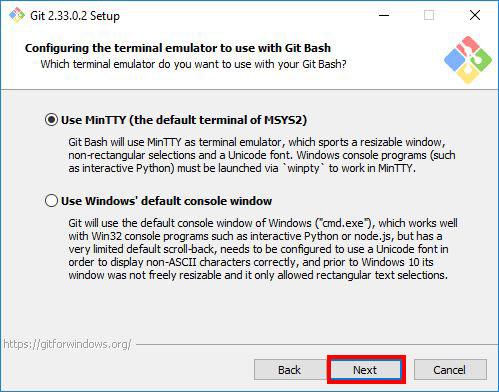
Step 12: Configuring the Terminal Emulator to use with Git Bash
Choose the terminal emulator you want Git Bash to use. MinTTY works well, so I would recommend you to proceed with the default option Use MinTTY(the default terminal of MSYS2) and click Next.
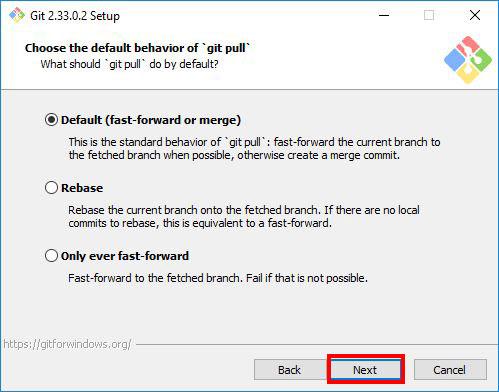
Step 13: Choosing the Default Behaviour of git pull
In this step, the installer asks you if you want to change the default behaviour of git pull(a git command). Unless you know what you doing, proceed with the default option Default (fast-forward or merge) and click Next.
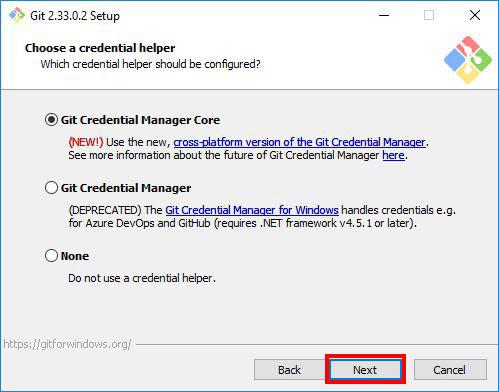
Step 14: Choosing a Credential Manager
In this step, you will be asked to choose a credential manager. Proceed with the default option Git Credential Manager Core and click Next.
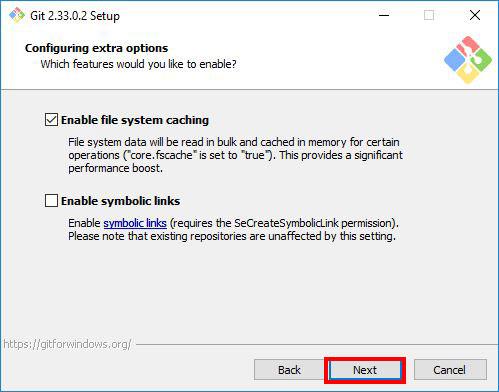
Step 15: Configuring Extra Options
Select the features you want. I find the default options sufficient for my needs. You can proceed with them and click Next.
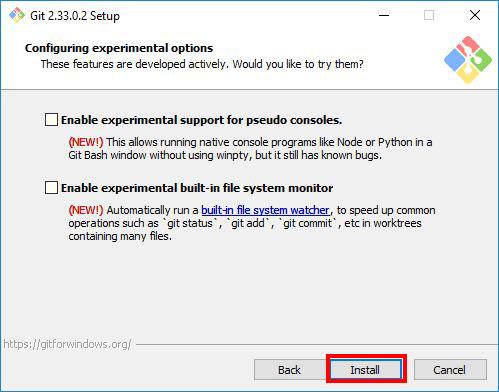
Step 16: Configuring Experimental Options
If you are feeling adventurous, you can try new experimental features. I like to play it safe and I don't enable them, so I will proceed to start the installation process by clicking Install.
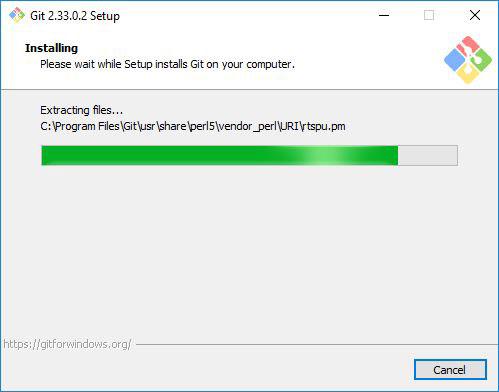
Step 17: Waiting for Git Bash to install
In this step, you take a step back and wait for a few minutes for the Setup Wizard to install Git Bash on your computer.
Step 18: Completing the Installation
After the installation has finished, select Launch Git Bash and click Finish to launch Git Bash.
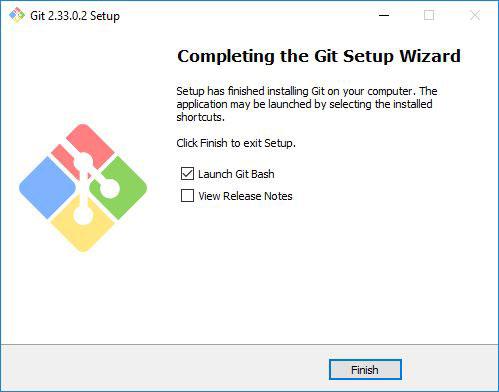
The Git Bash terminal will now open and you will be able to enter Git and Bash commands.
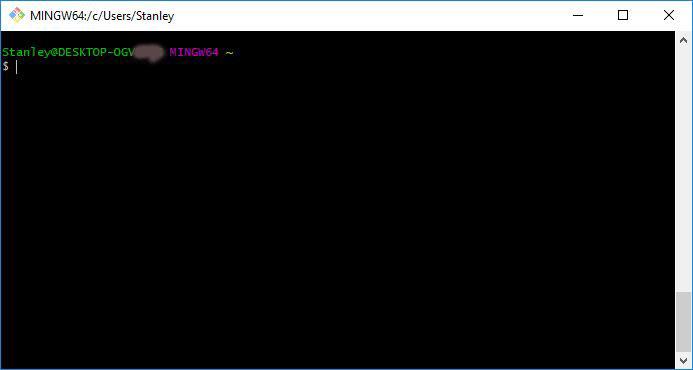
Congratulations on successfully installing Git Bash.
Step 19: Launching Git Bash
The following are just some tips on how you can easily launch Git Bash.
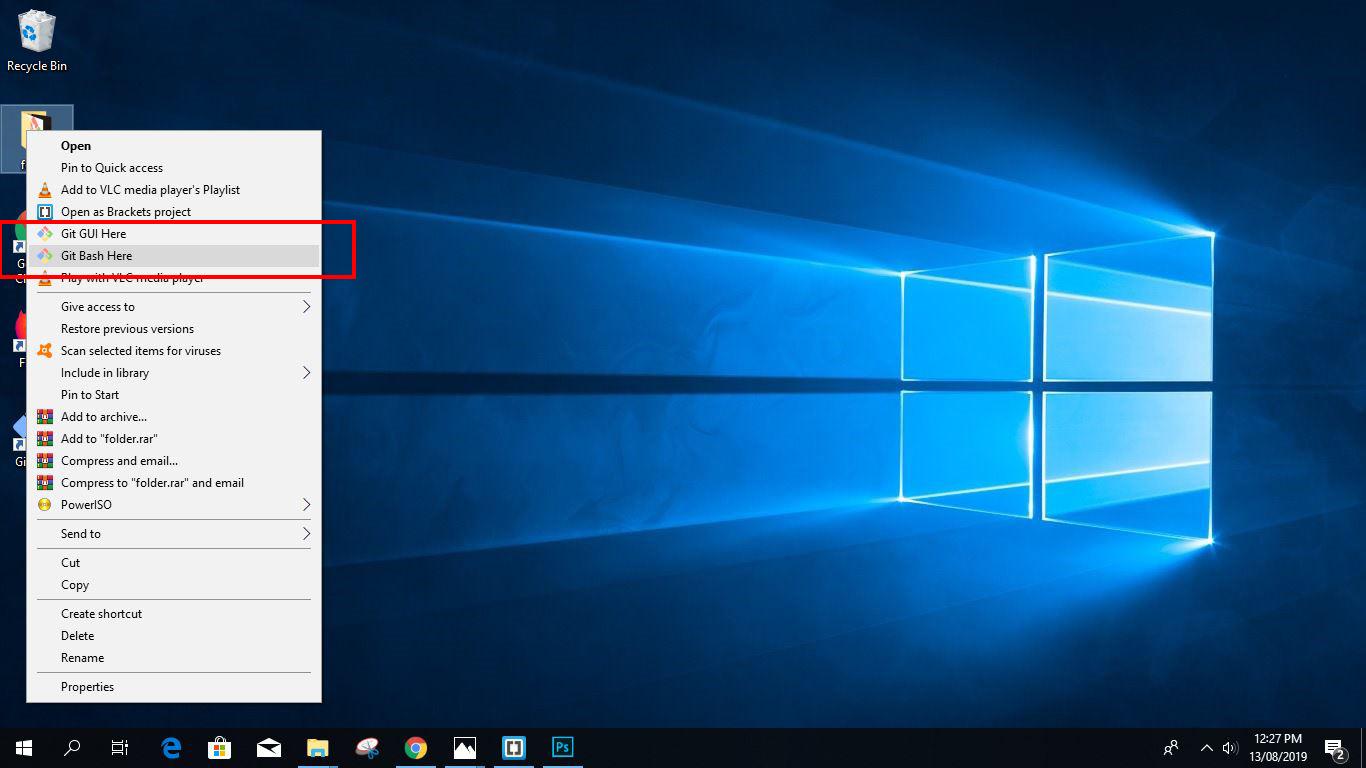
1. Right-click on any folder, anywhere and it will have the launch Git Bash option on the context menu.
2. If you enabled the "Additional icons" option on Step 4, you can easily launch Git Bash by clicking the Git Bash desktop icon.

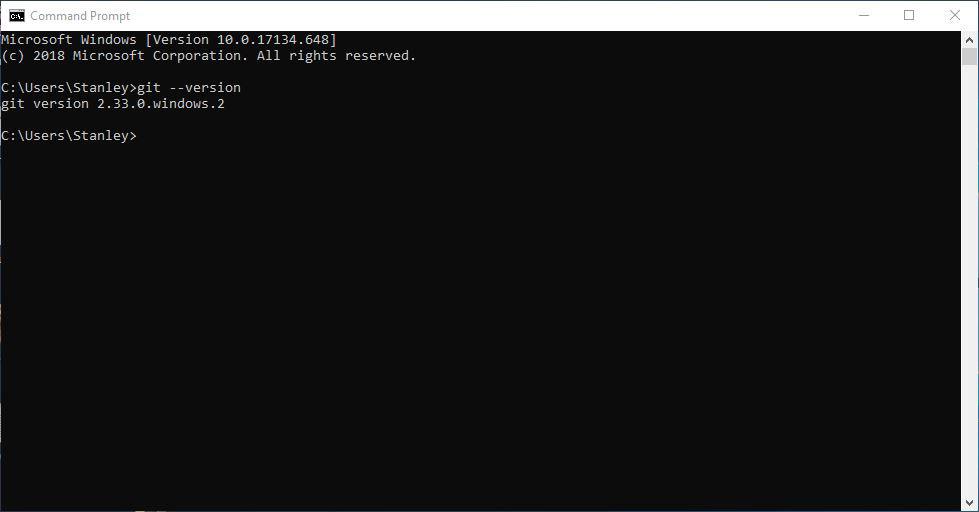
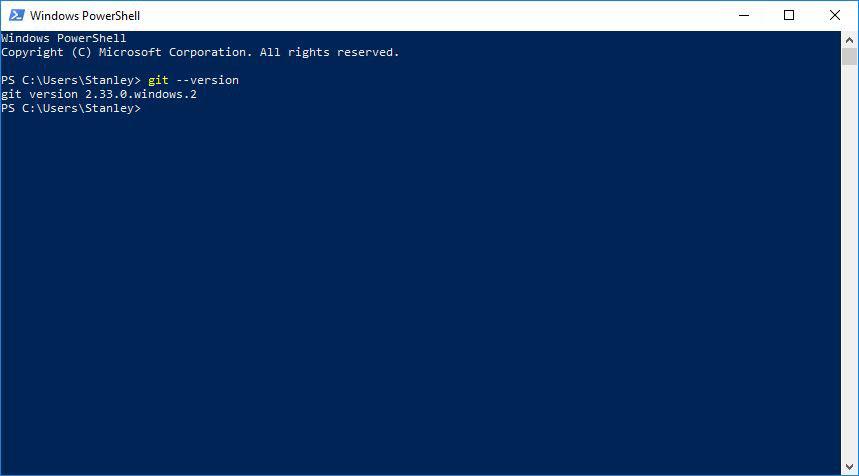
As mentioned in Step 7, you will be able to run Git commands on Git bash terminal, Windows Command Prompt, and Powershell.
Quickly, lets verify that Git works on CMD and PowerShell by typing the following commands:
- git --version
git --version tells you the Git version currently installed on your system.
Conclusion
In this article you installed Git Bash on your windows system. You also verified that Git works on CMD, and PowerShell. You are now ready to start learning Git. Visit gittutorial - A tutorial introduction to Git to learn the basics.
Thanks for reading.